CSSでのボタンアニメーション実装、便利なものがいっぱいありますよね。
今回はvivifyを試してみたいと思います。
といっても、すごく簡単なんですよね。だから試すというよりも紹介というのが正解かも。
アニメーションの種類は

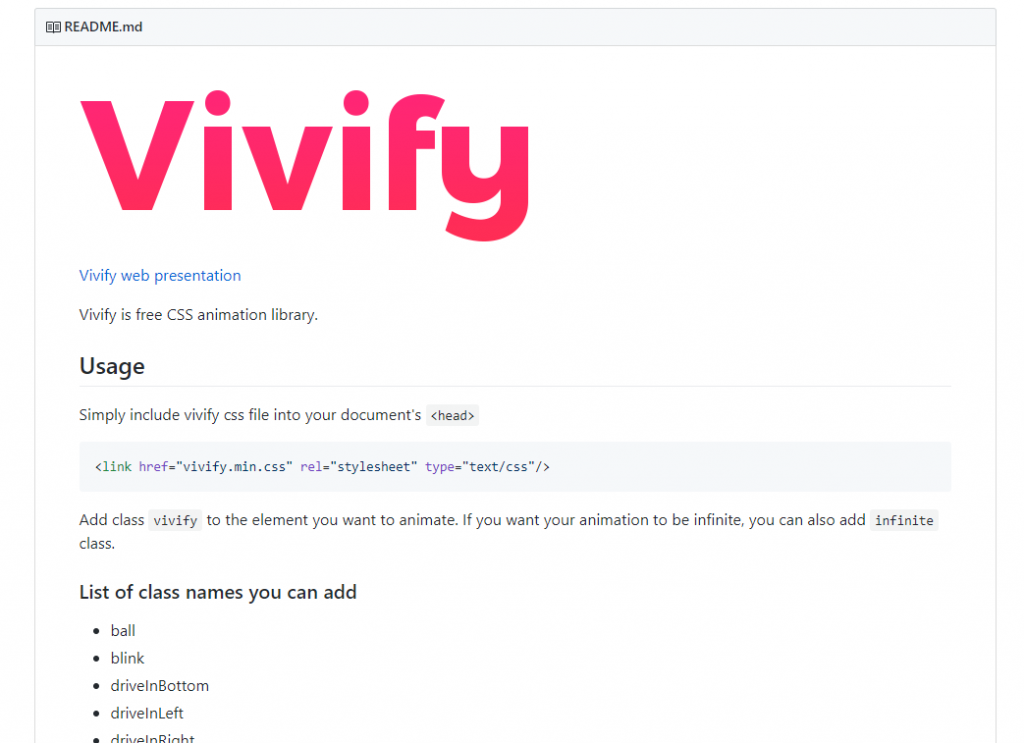
GitHub上のreadmeを見ると以下の種類アニメーションがあるようです。
- ball
- blink
- driveInBottom
- driveInLeft
- driveInRight
- driveInTop
- driveOutBottom
- driveOutLeft
- driveOutRight
- driveOutTop
- fadeIn
- fadeInBottom
- fadeInLeft
- fadeInRight
- fadeInTop
- fadeOut
- fadeOutBottom
- fadeOutLeft
- fadeOutRight
- fadeOutTop
- flip
- flipInX
- flipInY
- flipOutX
- flipOutY
- fold
- hitLeft
- hitRight
- jumpInLeft
- jumpInRight
- jumpOutLeft
- jumpOutRight
- popIn
- popInBottom
- popInLeft
- popInRight
- popInTop
- popOut
- popOutBottom
- popOutLeft
- popOutRight
- popOutTop
- pullDown
- pullLeft
- pullRight
- pullUp
- pulsate
- rollInBottom
- rollInLeft
- rollInRight
- rollInTop
- rollOutBottom
- rollOutLeft
- rollOutRight
- rollOutTop
- shake
- spin
- spinIn
- spinOut
- swoopInBottom
- swoopInLeft
- swoopInRight
- swoopInTop
- swoopOutBottom
- swoopOutLeft
- swoopOutRight
- swoopOutTop
- unfold
しかも、クラスの名前として付ければそれだけで実装できちゃう様子。これはお手軽。
vivify.cssをダウンロード
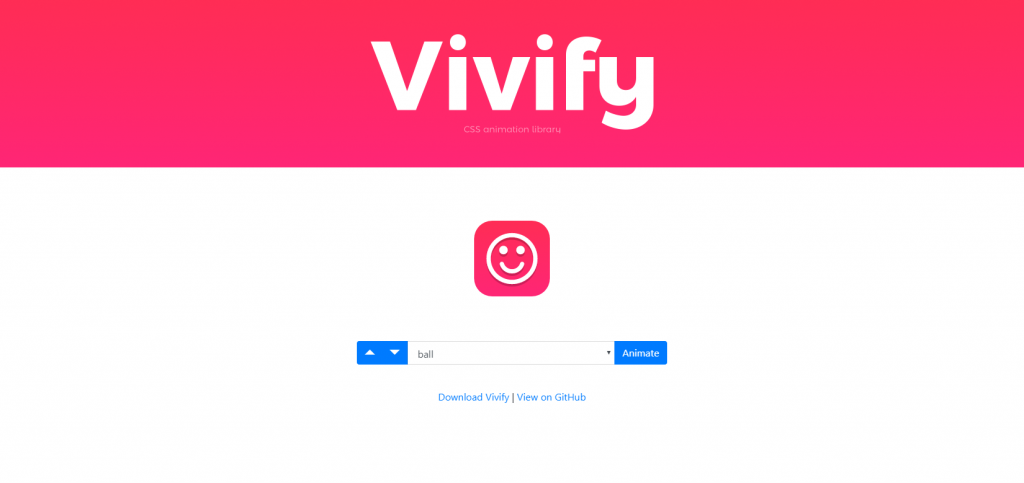
vivifyのHPからダウンロードします。
ダウンロードされるのはmin化されているもので、サイズは58kb程度でした。

もし、min化じゃいやだという場合は、GitHub(https://github.com/Martz90/vivify)からダウンロードもできますよ。
試してみる
ダウンロードしたということで、簡単なものを試してみましょう。
今回はballにしてみましたよ。
もちろんcssを読み込む記述も忘れずにね。
<!DOCTYPE html>
<html>
<head>
    <meta charset="utf-8">
    <meta http-equiv="X-UA-Compatible" content="IE=edge">
    <title>animation</title>
    <link href="vivify.min.css" rel="stylesheet" type="text/css"/>
    <style>
        div {
              width:200px;
              height: 100px;
              margin: 0 auto;
              background-color: red;
            }
    </style>
</head>
<body>
    <div class="ball"></div>
</body>
</html>
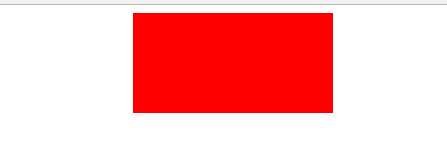
divにstyleにて200×100のボックスを左右の中央に背景色:赤で設置しました。
で、そのdiv自体にはクラス名ballを書いてあげれば…

…画面写真じゃわからないですが、上にバウンドして収まっていくようなアニメーションになりました。
これ、クラス名を変えるだけで他のアニメーションにも変わってくれるので、本当に簡単ですよ!
まとめ
これだけ種類がある必要はないかもですが、アニメーションを最初から実装するのは結構大変だったりします。
そういう意味ではお手軽実装できるのはありがたいですよね。サイズも手ごろですし。
これにカーソルオーバーとかを組み合わせれば、ちょっとしたリアクションタイプのボタンも作れそうですよね。
参考になれば幸いです!